Mastering HP LaserJet Printer Setup and Configuration for Optimal Performance
- workwebsite2
- Jan 18
- 4 min read

Setting up an HP LaserJet Printer can feel overwhelming, especially when you want to unlock its full potential. Many users face common issues like slow printing, connectivity problems, or unclear print quality because the setup was rushed or incomplete. This guide walks you through advanced setup and configuration steps to ensure your HP LaserJet Printer delivers consistent, high-quality results with minimal hassle.
Whether you are installing a new printer or optimizing an existing one, this post covers everything from initial hardware setup to fine-tuning print settings. By following these steps, you will reduce downtime, improve print speed, and extend your printer’s lifespan.
Preparing for Installation HP LaserJet Setup
Before connecting your HP LaserJet Printer, gather all necessary materials and check your environment:
Unbox carefully and remove all protective tapes and packaging materials.
Place the printer on a stable, flat surface near your computer or network router.
Ensure there is enough space around the printer for ventilation and paper handling.
Check that your computer meets the minimum system requirements for the printer driver.
Have your Wi-Fi network name and password ready if you plan to use wireless printing.
Taking these steps avoids common setup delays and hardware issues.
Connecting the Printer
You can connect your HP LaserJet Printer via USB, Ethernet, or Wi-Fi. Each method has its advantages:
USB connection is straightforward for single users but limits mobility.
Ethernet connection offers stable, fast printing for office networks.
Wi-Fi connection provides flexibility and supports multiple devices.
USB Setup
Connect the USB cable from the printer to your computer.
Turn on the printer.
Your operating system should detect the device and prompt driver installation.
If not, download the latest driver from HP’s official website.
Ethernet Setup
Connect the printer to your router using an Ethernet cable.
Power on the printer.
Use the printer’s control panel to print a network configuration page and note the IP address.
On your computer, add a new printer using the IP address.
Wi-Fi Setup
On the printer’s control panel, navigate to the wireless setup wizard.
Select your Wi-Fi network and enter the password.
Confirm connection status.
Install the printer driver on your computer and add the printer via network discovery.
Wireless setup may require troubleshooting if the signal is weak or the network uses advanced security settings.
Installing and Updating Drivers
Drivers are essential for communication between your computer and the HP LaserJet Printer. Using outdated or incorrect drivers causes printing errors and slowdowns.
Always download drivers from the official HP website.
Choose the driver version compatible with your operating system.
Use HP’s Smart Install or HP Easy Start tools for guided installation.
Check for driver updates regularly to fix bugs and improve performance.
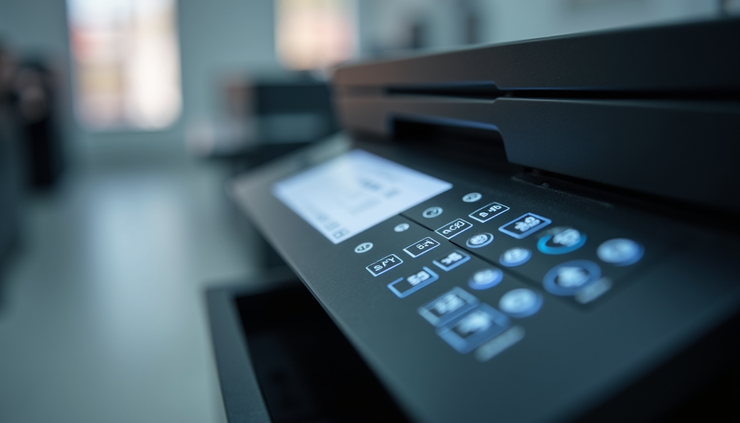
Configuring Printer Settings for Best Results
Once installed, adjust settings to match your printing needs. Here are key areas to focus on:
Print Quality and Paper Type
Select the correct paper type (e.g., plain, photo, cardstock) in the printer preferences.
Choose the appropriate print quality setting: draft for quick prints, normal for everyday use, or best for high-quality documents.
Use toner saver mode for drafts to extend cartridge life.
Duplex Printing
Enable duplex printing (double-sided) to save paper.
Adjust margins and layout to prevent content cutoff on double-sided pages.
Color Management
For color HP LaserJet Printers, calibrate color settings to ensure accurate output.
Use the printer’s color calibration tool or software utilities.
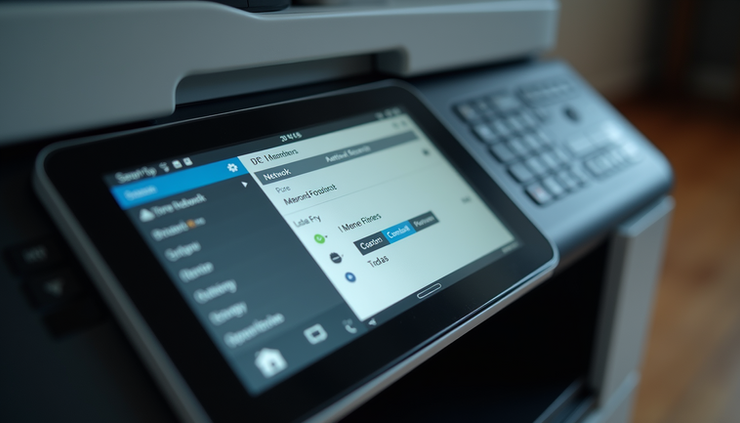
Network and Security Settings
Change the default administrator password to protect your printer from unauthorized access.
Enable secure printing features like PIN codes or encrypted connections if available.
Troubleshooting Common Issues
Even with careful setup, problems can arise. Here are solutions to frequent issues:
Printer not found on network: Restart router and printer, verify IP address, and check firewall settings.
Paper jams: Use the printer’s manual to clear jams carefully. Avoid overloading paper trays.
Poor print quality: Clean the printer’s drum and toner cartridge. Adjust print density settings.
Slow printing: Reduce print resolution or switch to draft mode for large documents.
Maintaining Your HP LaserJet Printer
Regular maintenance keeps your printer running smoothly:
Replace toner cartridges before they run completely empty.
Clean the printer’s interior and exterior with a soft, lint-free cloth.
Update firmware when HP releases new versions.
Store paper in a dry place to prevent jams.

Advanced Configuration Tips
For users who want to get the most from their HP LaserJet Printer, consider these advanced settings:
Custom paper sizes: Define non-standard paper dimensions for specialized printing tasks.
Print job scheduling: Use printer software to queue large print jobs during off-peak hours.
Energy-saving modes: Configure sleep timers and power-saving features to reduce electricity use.
Mobile printing: Set up HP ePrint or AirPrint to print directly from smartphones and tablets.
Using HP Printer Software Utilities
HP provides several software tools that simplify management:
HP Print and Scan Doctor: Diagnoses and fixes printing and scanning issues.
HP Smart App: Allows remote printing, scanning, and monitoring toner levels.
HP Web Jetadmin: For network administrators to manage multiple printers.
These tools help maintain your printer and improve user experience.


Comments