Mastering Wireless Printing: A Step-by-Step Guide to Connect Your HP Printer to Wi-Fi
- workwebsite2
- Jan 17
- 3 min read

Connecting your HP printer to Wi-Fi opens the door to convenient, wireless printing from any device in your home or office. If you’ve ever struggled with tangled cables or limited printing options, setting up your printer on a wireless network can transform your printing experience. This guide walks you through the entire process, making it easy to get your HP printer online and ready to print wirelessly.

Check Your Printer’s Compatibility and Network Requirements
Before diving into the setup, make sure your HP printer supports wireless connections. Most modern HP printers come with built-in Wi-Fi, but if yours doesn’t, you might need a wireless adapter or consider a wired connection instead.
Also, confirm that your Wi-Fi network is active and stable. You’ll need:
The Wi-Fi network name (SSID)
The Wi-Fi password (network key)
If you don’t know these details, check your router or ask the person who manages your network.
Prepare Your Printer for Wireless Setup
Start by turning on your HP printer and ensuring it’s within range of your Wi-Fi router. Being too far can cause connection issues.
Next, reset the printer’s network settings if it was previously connected to another network. This step clears old configurations and avoids conflicts.
To reset network settings:
On the printer’s control panel, navigate to Settings or Network Setup
Select Restore Network Defaults or Reset Network Settings
Confirm the reset and wait for the printer to restart
Connect Your HP Printer to Wi-Fi Using the Control Panel
Many HP printers allow you to connect directly through the control panel. Follow these steps:
On the printer’s touchscreen or button panel, find the Wireless or Network menu.
Select Wireless Setup Wizard. This tool scans for available Wi-Fi networks.
Choose your Wi-Fi network from the list.
Enter your Wi-Fi password carefully. Use the on-screen keyboard or physical buttons.
Confirm the connection. The printer will attempt to connect to the network.
Once connected, the printer usually prints a confirmation page or shows a wireless icon.
If your printer does not have a touchscreen, refer to the manual for button combinations to enter wireless setup mode.
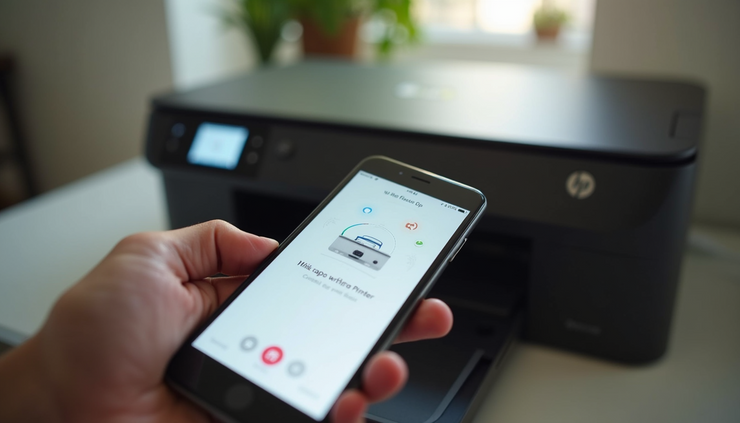
Use HP Smart App for Easy Wireless Setup
HP offers the HP Smart app, available for Windows, macOS, iOS, and Android. This app simplifies connecting your printer to Wi-Fi and managing print jobs.
To use HP Smart:
Download and install the app from the official HP website or your device’s app store.
Open the app and select Add Printer.
Follow the on-screen instructions to detect your printer.
When prompted, enter your Wi-Fi network details.
The app will configure the printer’s wireless settings automatically.
Using HP Smart also lets you scan, print, and check ink levels from your device.
Troubleshooting Common Connection Issues
Sometimes, the connection process doesn’t go smoothly. Here are solutions to frequent problems:
Printer not finding Wi-Fi network
Make sure your router is broadcasting the SSID and the printer is close enough. Restart both devices if needed.
Incorrect Wi-Fi password
Double-check the password. Remember, passwords are case-sensitive.
Printer shows offline status
Restart the printer and your computer or mobile device. Ensure they are on the same Wi-Fi network.
Firewall or security software blocking connection
Temporarily disable firewall or antivirus software during setup, then re-enable it afterward.
Printer firmware outdated
Update your printer’s firmware via the HP website or HP Smart app to fix bugs and improve connectivity.
Connect Multiple Devices to Your HP Printer
Once your printer is connected to Wi-Fi, you can print from multiple devices without cables. To add a printer on Windows:
Open Settings > Devices > Printers & scanners.
Click Add a printer or scanner.
Select your HP printer from the list and follow prompts.
On macOS:
Open System Preferences > Printers & Scanners.
Click the + button.
Choose your HP printer and add it.
For mobile devices, use the HP Smart app or the built-in AirPrint (iOS) or Mopria Print Service (Android) if supported.

Tips for Maintaining a Strong Wireless Connection
To keep your HP printer connected and printing smoothly:
Place the printer near the router or use Wi-Fi extenders if your space is large.
Avoid physical obstructions like thick walls or metal objects between the printer and router.
Regularly update your printer’s firmware.
Restart your printer and router occasionally to refresh connections.
Use a dedicated Wi-Fi network for your devices if possible to reduce interference.


Comments