your quick and easy guide setting up your new hp printer in minutes a personal success story
- workwebsite2
- Dec 6, 2024
- 3 min read

Updated: Dec 7, 2024
Setting up a new printer can often feel like a big task, especially if you’re not super tech-savvy. I was in the same boat recently. When I tore open the box of my shiny new HP printer, I felt a rush of excitement mixed with a hint of anxiety about setting it up. But here's the good news: getting your printer up and running is much easier than you might think! With simple guidance, you’ll be printing in no time. So, let’s dive into my experience with the 123 hp com setup scanner and how you can replicate it.
Unboxing and Initial Setup with new hp printer setup scanner
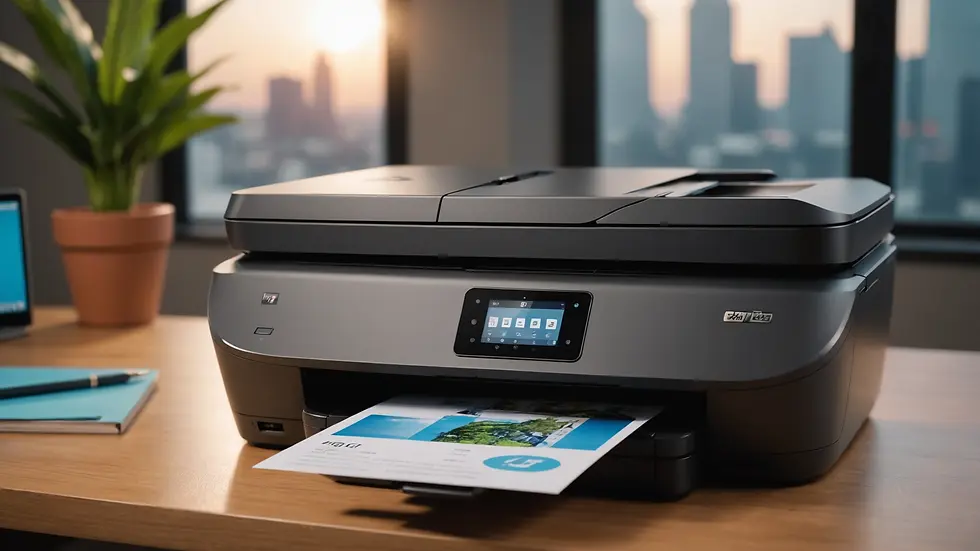
Unboxing your printer is both thrilling and essential. Start by carefully taking the printer out of the box and removing all packing materials like tape and plastic. Also, make sure to retrieve the user manual, as it contains important images and instructions that can guide you through the setup process.

Once everything is out, place your printer on a stable surface where you plan to use it most. Make sure there's enough space around the printer for ventilation and easy access to the paper tray and ports.
Powering Up Your Printer
Next, it's time to plug in your printer. Locate a nearby power outlet, connect the power cord, and switch on the printer. You’ll hear a gentle humming sound, a signal that your printer is booting up!
After powering on, you may see a prompt on the printer screen to select your language and region. Follow the onscreen prompts. Seeing the welcome message on your printer is a great moment; it’s the first sign that you’re nearly ready to print!
Installing Ink Cartridges
With your printer powered up, it’s time to install the ink cartridges. Open the cartridge access door; this area is often clearly marked. Installing the cartridges is usually just a straightforward click-in process.
Ensure you’re inserting the cartridges in the correct spots; they are color-coded for your convenience. Press down firmly until you hear a click. This step can be slightly intimidating, but once you complete it, you'll feel accomplished and ready to take on the world of printing!
Loading Paper
Now, let’s load paper into the tray. Pull out the paper tray, adjust the guides to match the paper size you're using, and carefully load the paper. Make sure to follow your printer's maximum paper limit to avoid issues like paper jams.
Once the tray is filled, push it back into the printer until you hear a satisfying click. Your printer is now ready for action!

Connecting Your Printer
This is the exciting part! Connecting your printer is crucial for making it operational, especially if you want to print wirelessly. You have two main options for connections: USB and wireless.
For wireless setup:
Access Wi-Fi settings: On the printer's control panel, find the Wi-Fi setup option. It’s usually under “Network” or “Settings.”
Select your network: Choose your home Wi-Fi network from the list that appears.
Enter your password: Use the keypad to input your Wi-Fi password. Double-check this step to ensure accuracy.
After confirming the connection, wait a few moments for the printer to connect. You will receive a confirmation message on the screen, and it feels great when it happens!
For USB setup:
Simply connect the USB cable from your printer to your computer. Follow the on-screen instructions as they guide you through the installation process.
Installing Printer Software
If you’re using a computer, it’s time to install the printer software. Visit the HP website to download the HP Smart App; this app is your go-to for printer control. For those who connected using USB, the software installation typically starts automatically when connected.
Much like the previous steps, follow the prompts on your screen. It’s a simple process requiring just a few clicks to get everything done!
Testing Your Printer
With the setup complete, it's time to test your printer. Print a test page to ensure everything is functioning properly. This is your moment to shine! If all goes well, you’ll see prints that are crisp, vibrant, and ready for whatever you need—be it school projects or important reports.
If something seems off, don’t worry. Check your connections and the printer settings. We’ve all been there, and your troubleshooting guide will be your best friend in resolving minor issues.
Wrapping It Up
Congratulations! In just a few simple steps, you’ve set up your new HP printer and are ready to start printing everything from family photos to business documents.
With tools like the 123 HP Setup, it’s amazing how quickly you can master your printer. Take some time to explore additional features your new device offers; you may find some pleasant surprises!
Next time you unwrap a printer, approach it with confidence, knowing you’ll have it ready to print in just a few minutes. Happy printing!


Comments